
To safely remove a piercing at home, first verify it's fully healed and free of redness or swelling. Gather clean gloves, antiseptic, and a mirror in a well-lit space. Identify your jewelry type—like threaded earrings or seamless rings—and use the correct technique, such as unscrewing, pinching, or clicking. After removal, clean the area daily and keep it moisturized. Monitor for signs of infection, and avoid sleeping on the side of the removed piercing. If you encounter difficulties, consider professional help. With the right care, you can make the process smoother and safer for yourself.
Key Takeaways
- Ensure the piercing is fully healed and free from redness or swelling before attempting removal.
- Gather clean gloves, antiseptic, and a mirror in a well-lit workspace for safe removal.
- Use the correct removal technique based on the jewelry type to prevent damage or complications.
- Clean the area with antiseptic after removal and monitor for signs of irritation or infection.
- Consult a professional piercer if you experience pain, tightness, or any complications during the process.

GEMQUEEN Piercing Taper Pliers Ball Grabber Tool for Changing Jewelry – Curved and Straight Forceps Stainless Steel Flat Back Earrings Insertion Tool Threadless Body Piercing Kit for Ear Nose Lip 8pcs
Piercing Pliers Taper Grabber Reacher Tools Set: The set includes threadless insertion pin thread designed, colorful curved and…
As an affiliate, we earn on qualifying purchases.
As an affiliate, we earn on qualifying purchases.
Preparation for Jewelry Removal
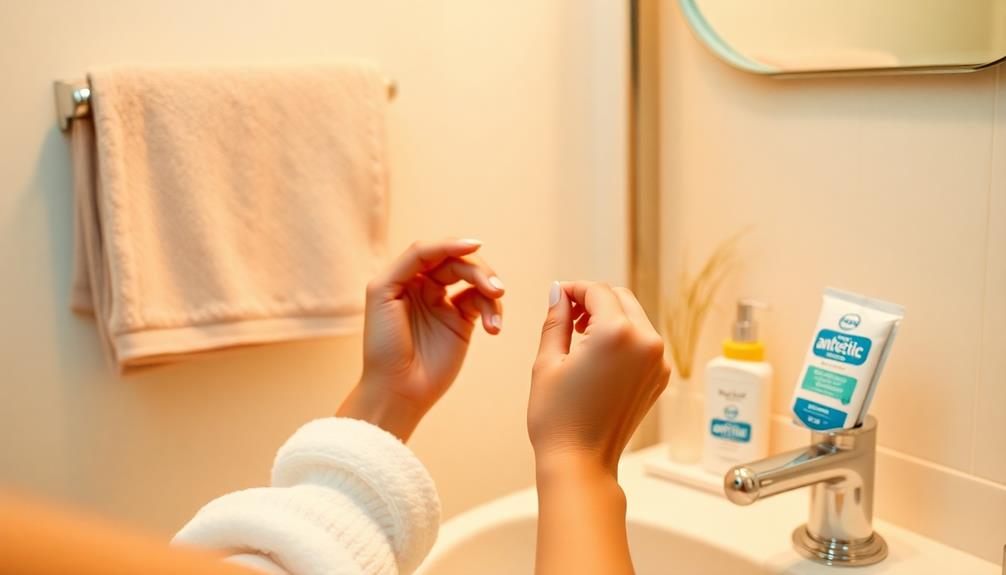
Before you start removing your jewelry, have you checked if your piercing is fully healed? It's essential to guarantee there's no redness or swelling, as healing can take up to a year depending on the location. If everything looks good, you can proceed with the removal process.
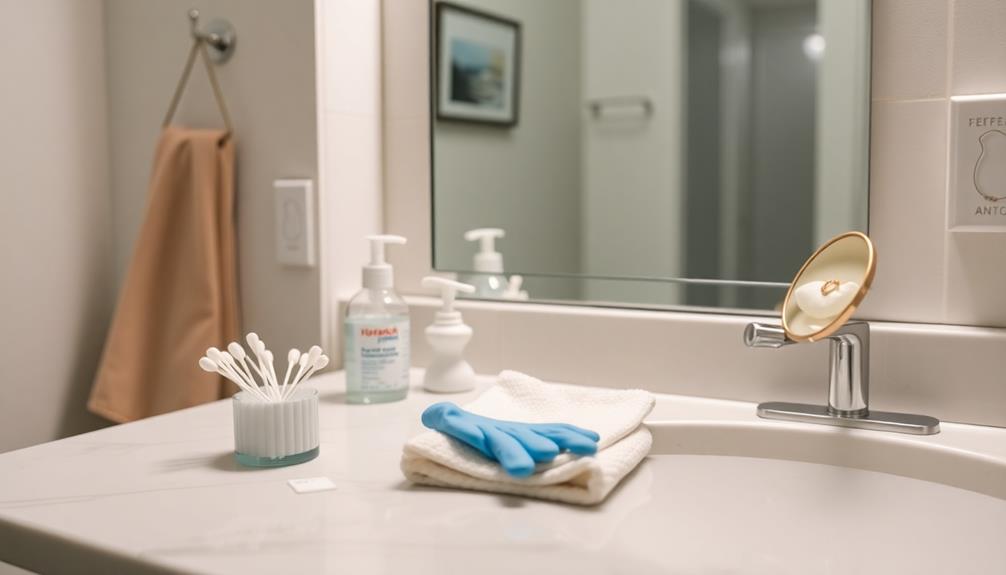
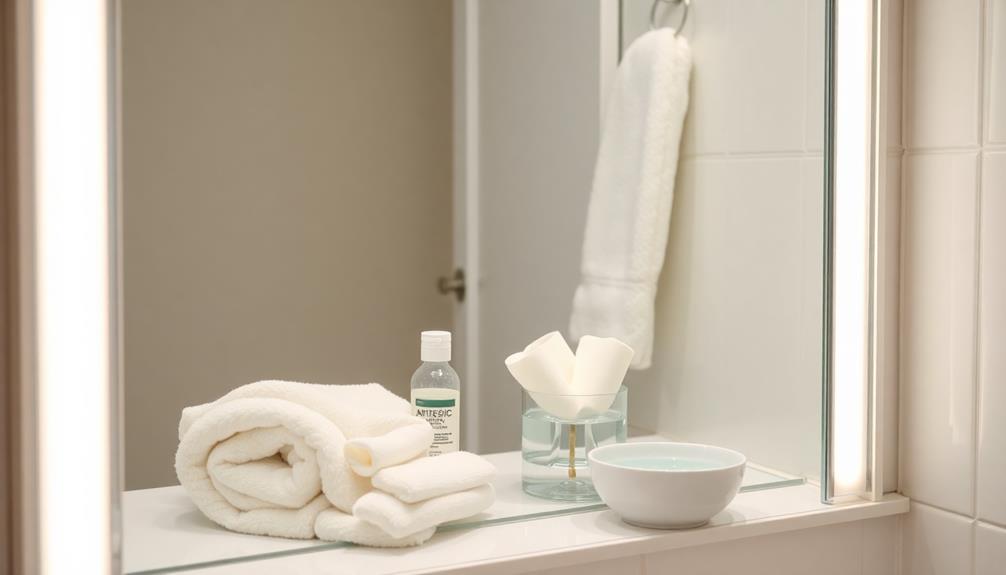
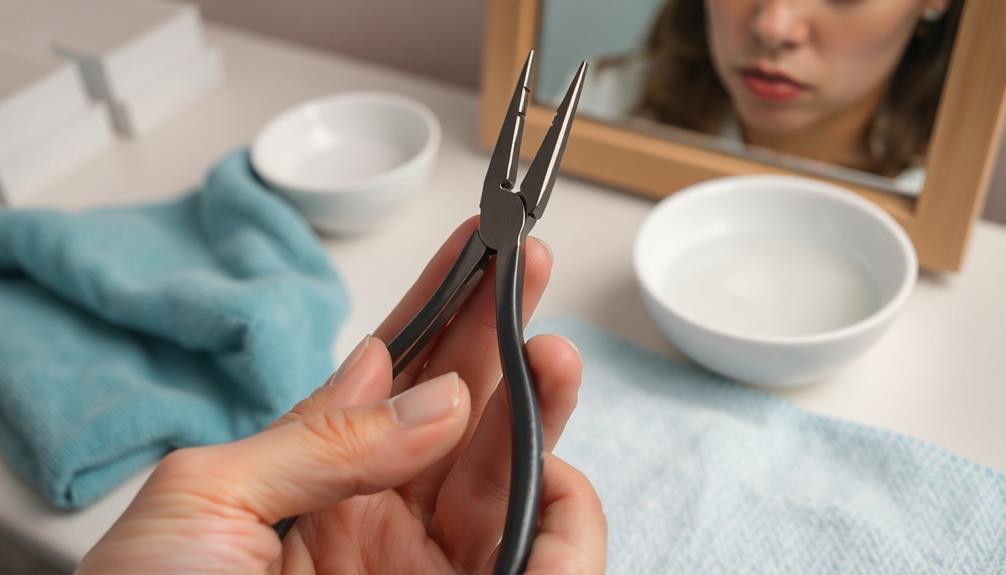
First, gather your proper tools: clean gloves, antiseptic, and a mirror. Wash your hands thoroughly to prevent any infection.
Create a comfortable and well-lit workspace—consider using a towel in the sink to catch any jewelry that may fall during removal.
Next, identify the type of earring or septum ring you're dealing with, as different types require specific removal techniques. If you feel any pain or discomfort while trying to remove the jewelry, stop immediately. This may indicate that your piercing isn't ready for removal, and it's wise to consult a professional piercer for assistance.
Taking these steps will help guarantee a smoother and safer removal process. Always prioritize your health and well-being when it comes to body piercings.

Quitch Piercing Aftercare Spray with Hypochlorous Acid, Soothing Cleanser for New & Healing Piercings, Ear, Cartilage, Nose & Body, Non-Irritating, No Alcohol
PIERCING AFTERCARE SPRAY Specially formulated hypochlorous acid spray designed for after piercing care. Gently cleanses new and healing…
As an affiliate, we earn on qualifying purchases.
As an affiliate, we earn on qualifying purchases.
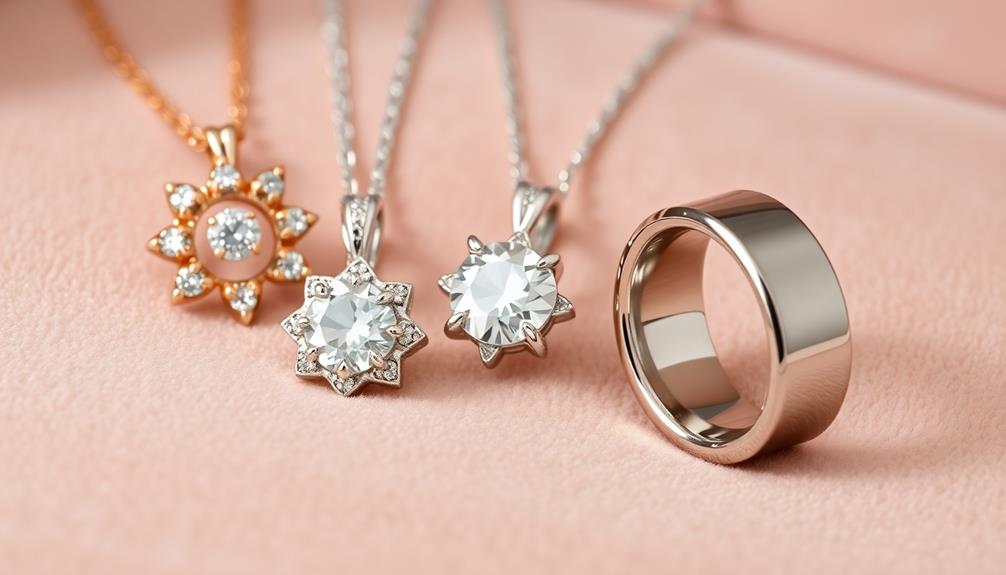
Types of Piercing Jewelry
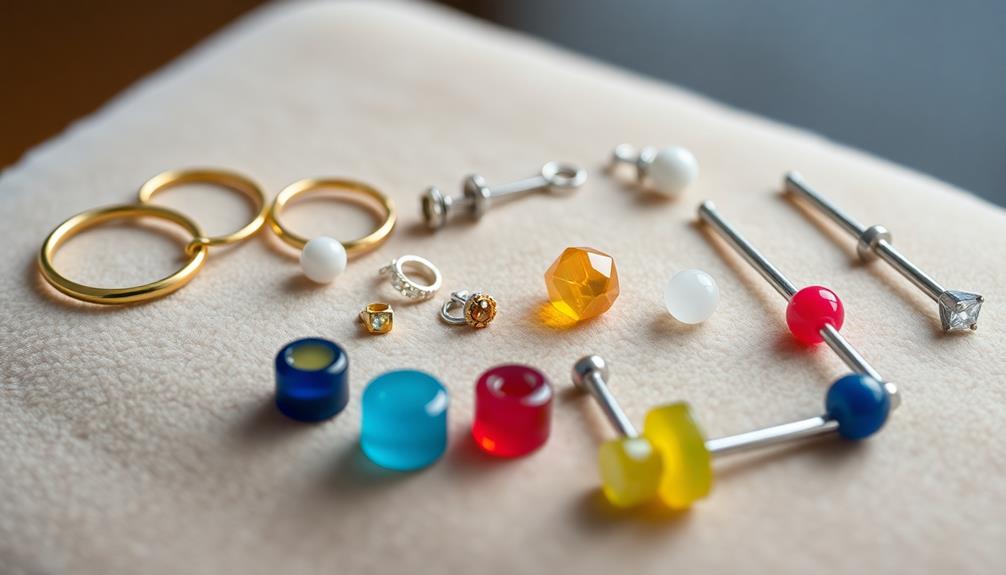
When it comes to piercing jewelry, knowing the different types can make a big difference in how you approach removal. Each type requires a specific technique, so it's crucial to familiarize yourself with them, especially once your piercing is fully healed.
Threaded earrings have a flat back and are removed by unscrewing the top. Just remember the righty-tighty, lefty-loosey rule.
For threadless earrings, you'll need to pinch the ends and pull them apart.
Seamless rings work with a hinge mechanism; locate it to click the ring out. In contrast, fixed bead rings require you to twist the earring sides in opposite directions.
Clickers also feature a hinge, and you can remove them by pinching the decorative section.
Captive bead rings necessitate spreading the ring to pop out the bead.

BASE LABORATORIES Piercing Aftercare Spray 4oz | Saline Spray for Piercings | Ear Piercing Cleaner Spray | Saline Solution for Piercings | Piercing & Keloid Bump Removal for Ears, Belly Nose Piercings
ALL NATURAL PIERCING AFTERCARE SPRAY – Base Labs piercing aftercare spray for new and existing piercings is powered…
As an affiliate, we earn on qualifying purchases.
As an affiliate, we earn on qualifying purchases.
Removal Techniques for Different Jewelry
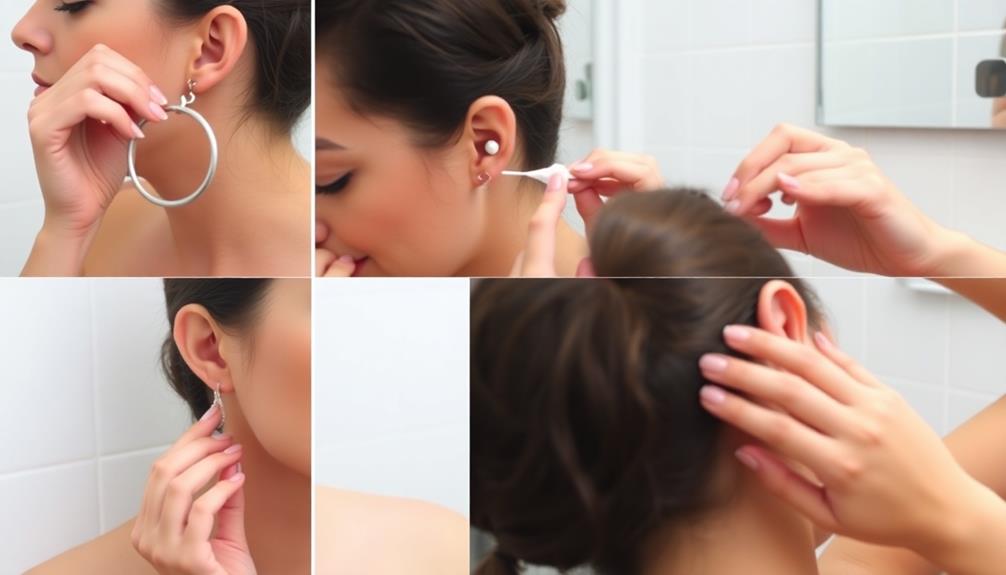
Removing piercing jewelry can vary considerably depending on the type you have. Here's a quick guide to help you with removing your piercing safely:
| Jewelry Type | Removal Technique |
|---|---|
| Threaded Earrings | Hold the flatback post and unscrew the top to the left. |
| Threadless Earrings | Grasp the decorative part and pinch the bent post to pull apart. |
| Seamless Rings | Locate the hinge and click it out to remove. |
| Clickers | Pinch the decorative section and hinge, then pull apart. |
| Captive Bead Rings | Spread open to pop out the bead; specialized tools may help. |
Always keep in mind that proper technique is vital when removing your jewelry. Take your time, and don't rush the process. After you've successfully removed your piercing, it's important to clean the area with sterile saline or non-iodized sea salt. This will minimize the risk of infection and guarantee your skin stays healthy. Remember, if you encounter any resistance, don't force it; it's better to consult with a professional if needed.
Helse Ear Cleaning Finger Glove – Human Ear Brush – Safely Remove Earwax, Sweat, Oil & Dirt Around, Behind & Inside Ears – Gentle Soft Earlobe Cleaner Wipes for Babies, Adults & Pets (50 Count)
Soft-Soothing pre-moistened Finger Wipes; to help Clean Ears and remove Earwax. Simple and safe to use.
As an affiliate, we earn on qualifying purchases.
As an affiliate, we earn on qualifying purchases.
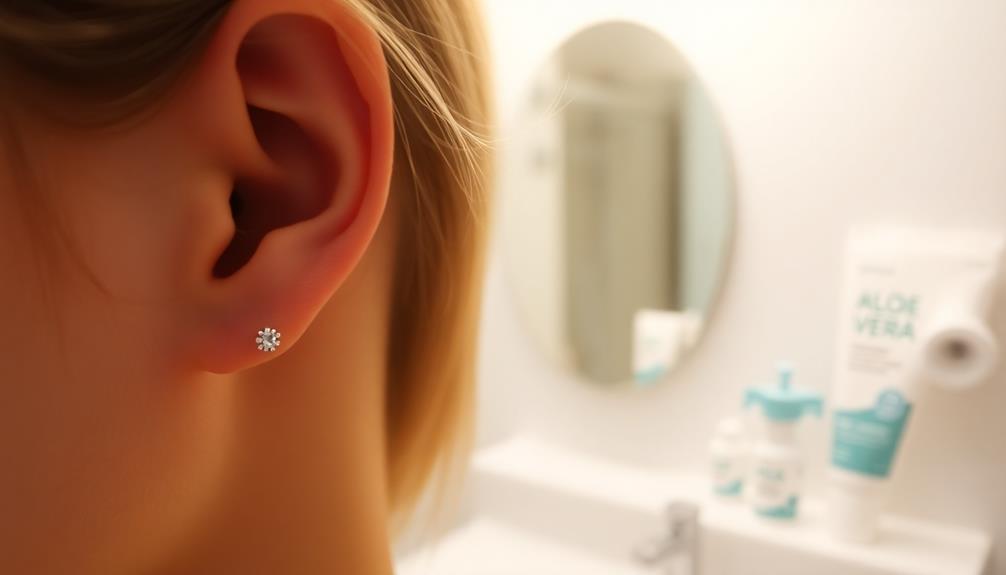
Aftercare Following Removal
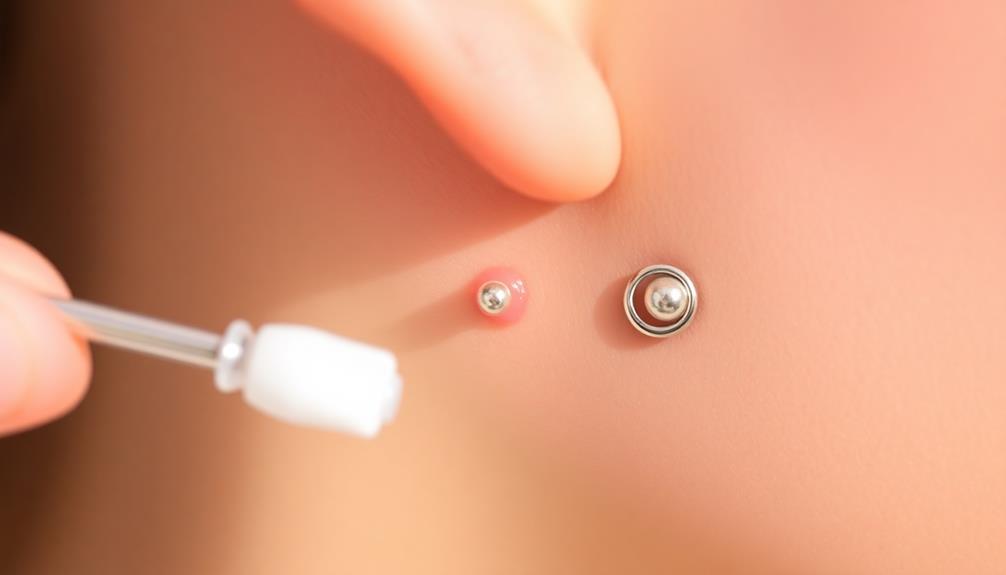
After you've removed your piercing, it's crucial to treat the area with care to prevent infection and promote healing.
Start by applying an antiseptic to the site, just like you'd for a new piercing. Do this for at least one week to minimize infection risks.
Gently clean the area daily using saline spray or an unscented soap, steering clear of harsh chemicals like hydrogen peroxide or alcohol, as these can irritate your skin.
Keep a close eye on the site for any signs of irritation or infection. Look out for redness, swelling, or any unusual discharge, and don't hesitate to seek professional help if you notice these symptoms.
It's also wise to avoid sleeping on the side of the removed piercing for 2-3 weeks to reduce irritation and support the healing process.
Additionally, staying hydrated and maintaining a balanced diet will help your body heal more effectively.
Following these aftercare steps will greatly increase your chances of achieving a healed piercing, ensuring the area returns to its natural state without complications.
Inserting New Jewelry
Inserting new jewelry into your piercing requires careful attention to guarantee a smooth process and minimize irritation. Start by choosing implant-grade materials like titanium, which are less likely to cause allergic reactions or irritation.
Before you insert the new jewelry, verify it's the correct size for your piercing; if you're unsure, consult a professional piercer for guidance.
Once you've decided on the right piece, remove your piercing jewelry promptly to prevent the hole from closing, especially if it's a fresh piercing. Clean the new jewelry with a sterile saline solution or mild soap to reduce the risk of infection. This step is vital for maintaining your piercing's health.
When you're ready to insert the new jewelry, do so gently and without force. If you experience any resistance or pain, stop immediately. Forcing it could damage the piercing or cause unnecessary trauma. Instead, consult a piercer for assistance.
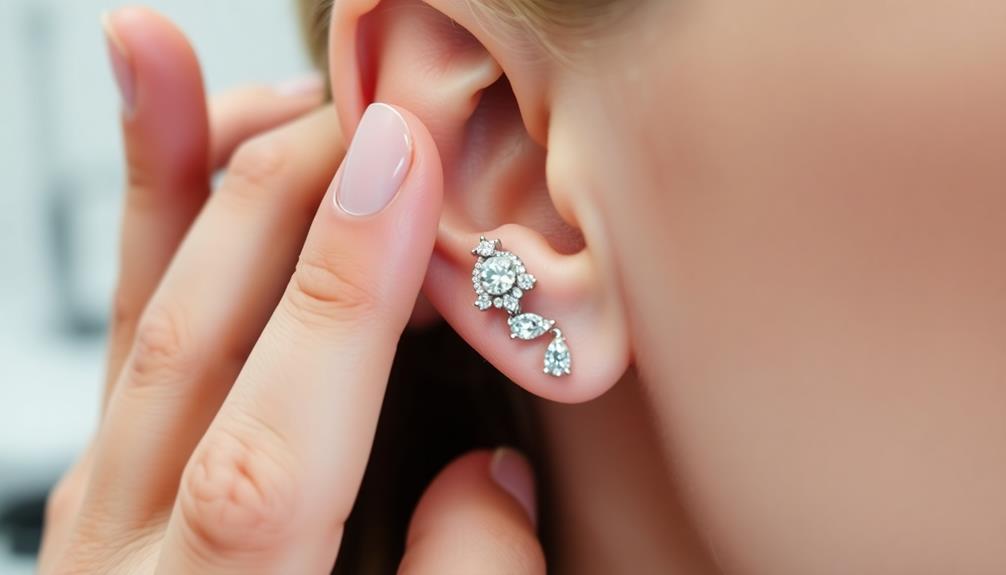
Signs of Healing
Healing is an essential aspect of the piercing process, and recognizing the signs of progress can help you guarantee your piercing is on the right track. You should look for several signs of healing to determine if your piercing is becoming completely healed.
First, check for an absence of redness, swelling, soreness, or crustiness around the area. These symptoms can indicate that your piercing is still healing.
Next, pay attention to the skin texture surrounding the piercing. Improved texture and reduced sensitivity are positive indicators. You should also be able to gently move the jewelry without experiencing pain. If you feel discomfort when moving the jewelry, this means your piercing hasn't fully healed yet, and you should wait before attempting to remove it.
Keep in mind that healing times can vary. While earrings typically heal in 4 to 6 weeks, other body piercings may take up to a year.
Regular check-ups with a professional piercer can offer additional insight into your healing status and confirm when it's safe to change jewelry. By observing these signs of healing, you'll guarantee a smoother shift when it's time to remove your piercing.
Common Mistakes to Avoid
Removing a piercing might seem straightforward, but there are several common mistakes you should avoid to confirm a safe process.
First and foremost, never attempt to remove your jewelry before the piercing is fully healed. Doing so can lead to pain, infection, and complications that are best avoided.
Another critical mistake is failing to wash your hands thoroughly before handling the jewelry. This increases the risk of introducing bacteria, making an infection more likely.
Additionally, make sure you're using the correct technique for the type of jewelry you have. Incorrect removal can damage both the piercing and the surrounding tissue.
Skipping lubrication, like water-based lubricant or antiseptic, can also make the removal process uncomfortable and difficult. It's crucial to make this part of your preparation.
Finally, don't neglect to set up a clean and organized workspace. A cluttered environment can lead to losing jewelry or introducing contaminants that could jeopardize your piercing's healing.
Seeking Professional Help

Although you might feel confident about removing your piercing yourself, seeking professional help is often the safest choice, especially if you're dealing with discomfort or complications.
Here are some situations where it's best to consult a trained piercer:
- Pain or tightness: If you're feeling discomfort, it's vital to get help to avoid further injury.
- Signs of infection: Redness, swelling, or discharge indicate you should contact your piercer immediately to prevent worsening the condition.
- Uncertainty with removal: If you're unsure about the type of jewelry or the removal technique, professional guidance can minimize discomfort.
- Convenience: Many studios offer jewelry change and removal services, allowing you to book an appointment that fits your schedule.
Professional piercers have the expertise and tools necessary for safe removal, ensuring the right technique is used for your specific piercing.
They can also provide personalized advice, which can help you avoid complications.
Remember, DIY removal attempts can lead to pain, damage to surrounding tissue, and infection.
Prioritizing professional assistance is key if you have any uncertainties about your piercing.
Additional Resources and Support
If you decide to take on the task of removing your piercing yourself, having the right resources at your fingertips can make the process smoother. Here are some additional resources and support options to take into account:
| Resource Type | Description | Contact Method |
|---|---|---|
| Professional Services | Book a piercing jewelry change for safe removal. | Online booking available. |
| Email Support | Reach out for expert guidance on jewelry removal. | Email support available. |
| Informative Articles | Learn about piercing jewelry definitions and techniques. | Accessible online articles. |
| Method Comparisons | Understand the differences between needle and gun piercings. | Online resource comparisons. |
| Video Consultations | Get personalized advice during jewelry changes. | Schedule a video call. |
Before you begin, remember to wash your hands thoroughly to prevent any infections. Each resource listed can provide the additional resources and support you need, whether it's through professional help or DIY knowledge. Don't hesitate to reach out for assistance; it's always better to be safe than sorry when it comes to piercings.
Frequently Asked Questions
How Can I Remove a Piercing at Home?
You'll need to guarantee your piercing's healed and gather clean tools. Soak the area, then carefully twist or unscrew the jewelry. If it hurts or won't budge, get help from a professional.
How Do You Take Out a Starter Piercing?
To take out a starter piercing, make certain it's healed, gather clean tools, and use a mirror. Grasp the post, unscrew or gently twist to remove. Clean the area afterward, and watch for irritation.
How Do You Unscrew a Piercing Easily?
To unscrew a piercing easily, grip the flatback post firmly while turning the top to the left. If it's tight, apply a small amount of lubricant to help ease the removal. Always guarantee your hands are clean.
Can I Take a New Piercing Out Myself?
Imagine planting a seed; pulling it up too soon stunts its growth. You shouldn't take out a new piercing yourself. Wait until it's fully healed—your patience will prevent complications and guarantee a successful outcome.
Conclusion
To sum up, safely removing a piercing at home requires preparation, patience, and care. You'll want to gather your tools, understand the jewelry type, and follow proper techniques. After removal, focus on aftercare, insert new jewelry only when ready, and watch for signs of healing. Avoid common mistakes, and don't hesitate to seek professional help if needed. By following these steps, you empower yourself to manage your piercings confidently and safely, ensuring a smooth experience.