The Expensive Mistake Buyers Make With Ring Light for Piercing Photography
Getting the most out of your ring light for piercing photography requires more than just investment; discover the common mistake that could be holding you back.
Many buyers make the costly mistake of purchasing an expensive ring light without fully understanding how to optimize its position, brightness, and diffusion for piercing photography. They often overlook proper angle adjustments and camera settings, resulting in unflattering shadows and reflections. Investing in quality is important, but mastering how to use it makes all the difference. Stick around, and you’ll discover key tips to avoid these pitfalls and take your piercing photos to the next level.
Key Takeaways
Failing to verify device compatibility can lead to additional costs for adapters or accessories.
Choosing a ring light based solely on price without considering adjustable features reduces photo quality.
Neglecting proper camera settings causes images to appear grainy or blurry, wasting investment.
Ignoring light diffusion options results in glare and harsh reflections that obscure piercing details.
Overlooking the importance of optimal angles and positioning diminishes the effectiveness of the lighting setup.
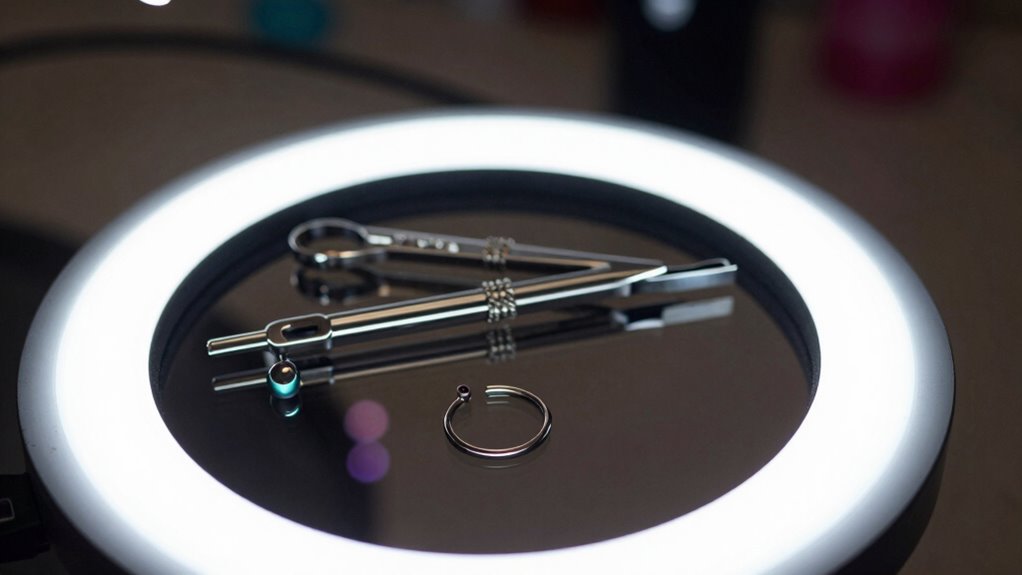
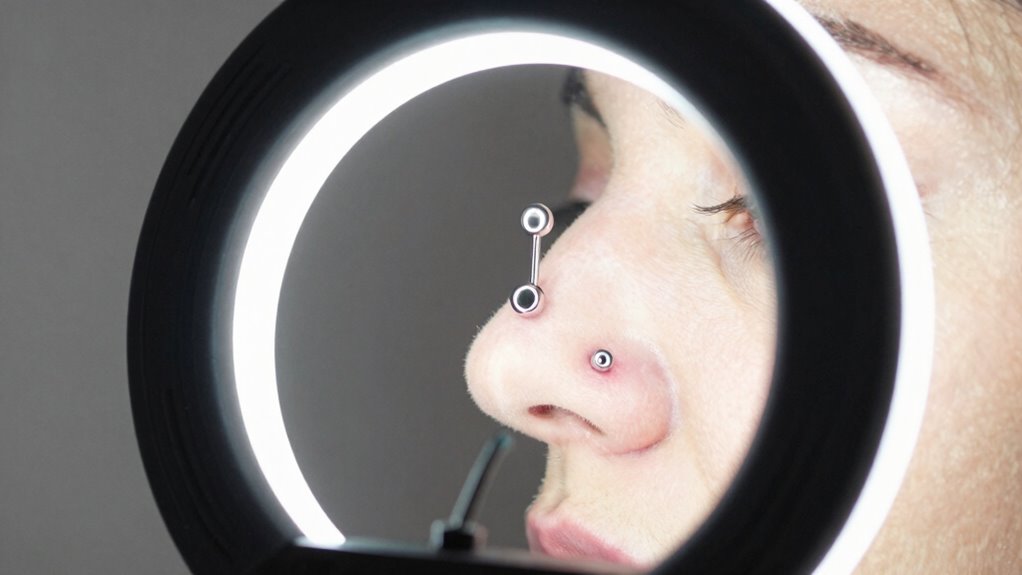
Using a ring light for piercing photography can dramatically enhance your images, but it’s easy to make mistakes that compromise quality. One of the most common errors is ignoring the importance of lighting angles. When you position the ring light, you might think that placing it directly in front of the subject is always best, but that can flatten features and create unflattering shadows. Instead, experiment with different lighting angles to find the most flattering, highlighting the piercing without causing harsh reflections or uneven illumination. A slight tilt or offset can add depth and dimension, making your photos pop. Additionally, understanding the role of lighting setup is crucial for achieving professional results. Proper lighting setup involves more than just placement; it includes understanding how light interacts with different surfaces and materials, which is essential for capturing detailed piercing images.
Experiment with lighting angles to add depth and avoid flat, unflattering shadows in piercing photos.
Another costly mistake buyers often make is neglecting to adjust their camera settings properly. Many assume that the ring light alone will do all the work, but the right camera settings are vital for capturing sharp, vibrant images. Failing to optimize ISO, aperture, and shutter speed can lead to blurry or overexposed photos. For piercing photography, keep ISO low to avoid graininess, and set a narrow aperture to ensure the entire piercing is in focus. Shutter speed should be fast enough to freeze any movement, especially if you’re shooting handheld. Without these adjustments, even the best lighting setup can produce lackluster results.
Many buyers also fall into the trap of investing in an expensive ring light without considering whether it’s compatible with their camera or smartphone. A high-quality ring light can be a game-changer, but it’s useless if it doesn’t fit your device or lacks adjustable brightness and color temperature. This oversight can lead to disappointment and additional expenses down the line. Always check compatibility and features before making a purchase, so you don’t end up with a light that doesn’t meet your needs or forces you to buy accessories or adapters.
Additionally, some buyers overlook the importance of light diffusion. A ring light that’s too harsh can cause glare or reflections on jewelry and skin, obscuring the details you want to showcase. Using diffusers or softboxes can soften the light, reducing glare and creating a more natural, appealing look. This simple step can elevate your piercing photos from average to professional quality, saving you from costly post-editing or re-shoots. Proper diffusion techniques also help to minimize harsh shadows, ensuring your images look more polished and professional.
Ultimately, the biggest mistake is thinking that a ring light alone guarantees perfect photos. Success depends on understanding lighting angles, adjusting camera settings, choosing the right equipment, and controlling light diffusion. When you pay attention to these factors, you’ll avoid costly mistakes and produce stunning piercing images that truly stand out.
Can a Ring Light Improve Piercing Photo Quality Outdoors?
Yes, a ring light can improve your piercing photo quality outdoors. You should adjust the color temperature to match natural light, ensuring accurate skin tones. Use the power settings to control brightness and avoid harsh shadows or overexposure. Properly setting your ring light helps illuminate details clearly, resulting in sharper, more professional-looking piercing images, even in outdoor environments.
What Is the Ideal Ring Light Size for Piercing Photography?
You should choose a ring light around 12 inches for piercing photography, as studies show this size offers ideal illumination without harsh shadows. When selecting, consider lighting angles to minimize glare and guarantee even coverage. Adjust the color temperature between 5500K and 6500K for true skin tones. A 12-inch ring light strikes a balance, providing enough brightness while remaining portable and versatile for capturing detailed piercing images.
Are There Specific Ring Light Features Beneficial for Piercing Shots?
Yes, for piercing shots, look for a ring light with adjustable color temperature and sufficient power output. A variable color temperature allows you to fine-tune lighting to showcase the piercing’s details accurately, whether you want a cool or warm tone. Higher power output ensures even illumination without shadows, highlighting the piercing clearly. These features help you achieve professional-looking images, avoiding the costly mistakes of poor lighting that can distort or obscure your work.
How Do I Choose a Ring Light for Different Skin Tones?
Think of your ring light as a chameleon, adapting to different skin tones. To do this, prioritize color accuracy and brightness control. Choose a ring light with adjustable color temperature to match various skin shades seamlessly, and guarantee it offers brightness control to avoid overexposure or shadows. This way, each piercing pops naturally, highlighting the details without washing out or underlighting different skin tones.
What Are Budget-Friendly Alternatives to High-End Ring Lights?
If you’re seeking budget-friendly options, consider affordable lighting like clip-on ring lights or LED desk lamps, which work well for piercing photography. DIY solutions, such as using a ring-shaped mirror with a regular light or creating a homemade ring light from inexpensive materials, can also offer great results. These alternatives help you achieve professional-looking images without the high cost, making your setup more accessible and versatile.
Conclusion
Don’t let your piercing photos become a costly misstep. Choosing the wrong ring light is like building a house on a shaky foundation — everything else falls apart. By investing in the right lighting, you’re setting a sturdy stage for stunning, professional-looking shots that truly showcase your piercings. Remember, the perfect ring light isn’t just a purchase; it’s the beacon guiding your photography to shine brightly and avoid costly regrets.