Microdermal anchors provide a unique way to express your style through body piercing. They consist of a small base placed beneath your skin, allowing jewelry to lie flat. You can choose from versatile placement options, but it's important to avoid high-friction areas to reduce rejection risks. The piercing requires a skilled professional and healing typically takes 6 to 12 weeks, demanding proper aftercare. You can customize the tops easily, and using hypoallergenic materials like surgical titanium minimizes irritation. To fully grasp the intricacies of microdermal anchors, you'll want to explore more about their process and aftercare tips.
Key Takeaways
- Microdermal anchors feature a small base under the skin, allowing for versatile jewelry placement while minimizing irritation with biocompatible materials.
- The piercing process requires a skilled professional, typically taking only a few minutes and ensuring proper anatomical assessment.
- Healing time ranges from 6 to 12 weeks, necessitating diligent aftercare and monitoring for infection signs during the recovery process.
- Jewelry maintenance includes daily cleaning with saline and avoiding harsh chemicals, with preferred materials being surgical titanium or stainless steel.
- Removal should be performed by a trained professional to avoid complications, ensuring safe extraction and monitoring for post-removal healing.
Top picks for "microdermal anchor comprehensive"
As an affiliate, we earn on qualifying purchases.
Overview of Microdermal Anchors
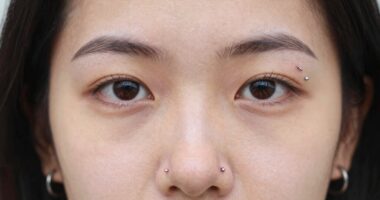
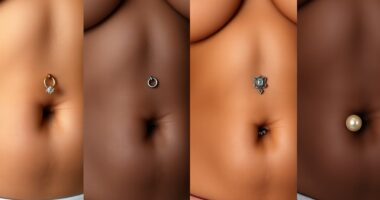
Microdermal anchors, often called dermal anchors, offer a unique way to adorn your skin with body jewelry. These piercings consist of a small base inserted beneath your skin, allowing a single entry point for jewelry that lies flat against the surface. Common placement areas for microdermal anchors include the face, neck, chest, and wrists.
It's vital to choose locations carefully and avoid high-friction areas to minimize rejection risks.
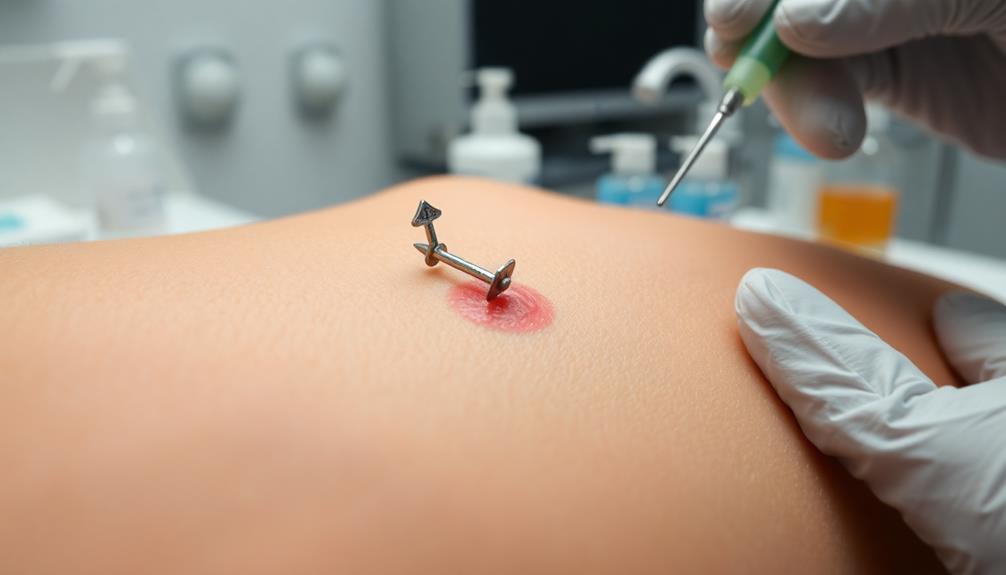
The process of getting a microdermal anchor piercing requires a skilled piercer, who uses a sterile needle or dermal punch to create a pocket for the anchor. Proper placement is essential for stability and comfort.
After the procedure, you'll enter the healing process, which typically ranges from 6 to 12 weeks, depending on your body and the anchor's location. During this time, it's important to keep the area clean and follow aftercare instructions to promote healing.
Jewelry for microdermal anchors is usually made from biocompatible materials like surgical titanium or stainless steel, reducing the risk of allergic reactions and irritation.
Benefits of Dermal Piercings
Dermal piercings provide a distinctive aesthetic that sets them apart from traditional body jewelry. With a single entry point, these piercings allow decorative jewelry to lie flat against your skin, enhancing your personal style and creativity. If you're into body modification, dermal anchors offer a unique way to express yourself.
One of the significant benefits of dermal piercings is their versatility. You can place dermal anchors in various locations, such as the face, neck, or chest, allowing you to customize your look to fit your preferences.
Unlike traditional piercings, you can easily change the tops of your dermal anchors without removing the entire anchor, giving you the freedom to update your style whenever you wish.
Additionally, the healing time for dermal piercings is typically between 6 to 12 weeks, and proper aftercare can lead to long-lasting retention of the anchor.
Made from biocompatible materials like surgical titanium and stainless steel, dermal jewelry minimizes irritation and allergic reactions, making them suitable even for sensitive skin types.
With these benefits, dermal piercings can be an exciting addition to your body modification journey.
The Piercing Process
Before getting your microdermal anchor, you'll have a consultation where the piercer marks the best spot for placement.
They'll then use a sterile needle or dermal punch to create a pocket in your skin, ensuring a smooth insertion.
Understanding these steps can help ease any concerns you might've about the process.
Preparation and Consultation
When considering a microdermal anchor piercing, it's important to consult with a trained piercer to discuss your preferences and any medical conditions that could impact healing. This initial consultation is necessary for proper preparation.
You'll want to talk about where you'd like the anchor placed and what jewelry options are available. A professional piercer will assess your anatomy to determine the best location for the anchor, minimizing the risk of complications.
They'll also mark the desired location before the procedure, ensuring the piercing aligns with your aesthetic preferences. This careful planning helps provide you with the best possible outcome.
During the consultation, it's important to communicate openly about aftercare instructions and any potential risks involved. A thorough understanding of aftercare is critical for ensuring a smooth healing process.
Taking the time to prepare and consult with a professional piercer not only boosts your confidence but also enhances the overall success of your microdermal anchor piercing.
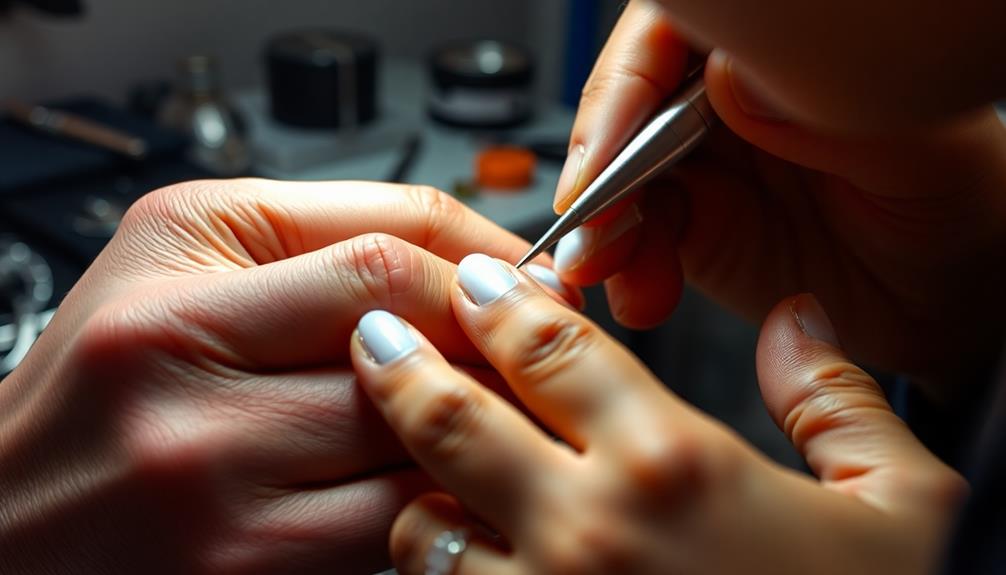
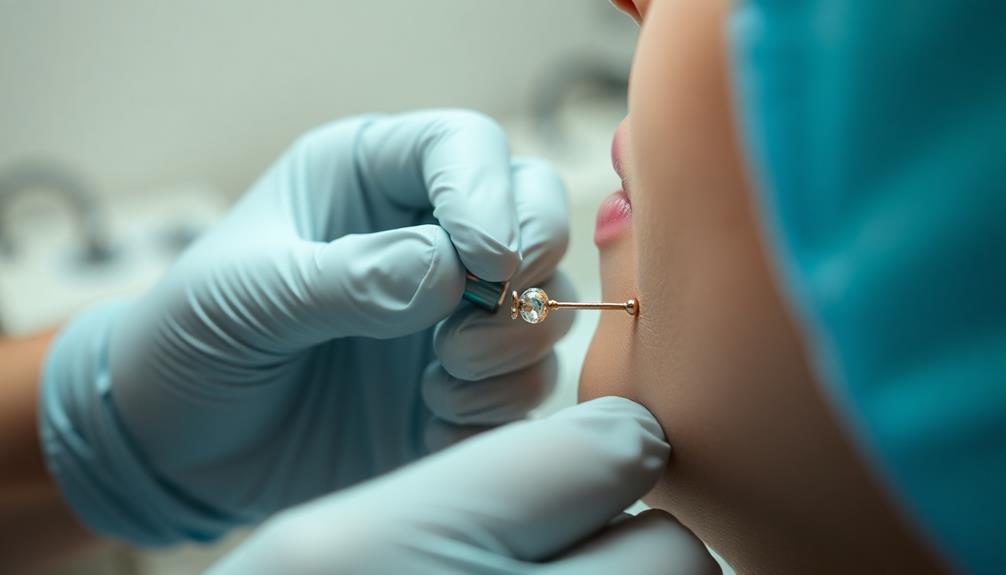
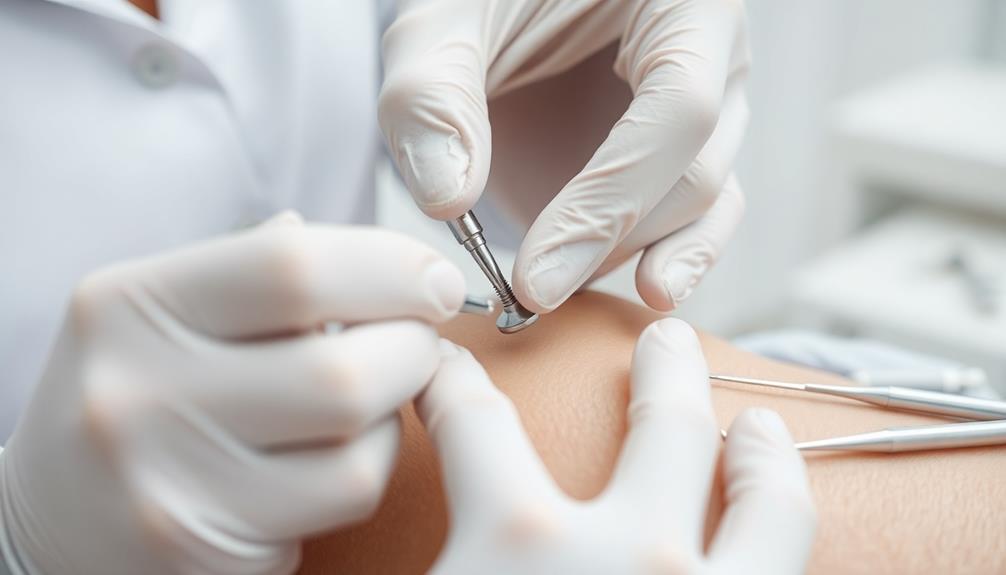
Insertion Techniques Explained
The piercing process for microdermal anchors involves precise techniques that guarantee a secure and aesthetically pleasing outcome. You'll typically find that the insertion involves either a sterile needle or a dermal punch, which creates a small pocket in your skin for the anchor placement. Before the procedure, your piercer will mark the desired location, confirming anatomical compatibility and proper alignment.
Once you're ready, they'll carefully insert the anchor, designed with holes that allow your skin to heal around it. This healing process provides stability and prevents movement of the anchor. After the anchor is securely in place, a threaded top piece is added, allowing you to change it without removing the anchor itself.
Here's a quick overview of the insertion techniques used:
| Technique | Description | Advantages |
|---|---|---|
| Sterile Needle | Creates a small puncture for the anchor | Less invasive, faster recovery |
| Dermal Punch | Removes a small disk of skin | Precise placement, secure fitting |
| Marking Site | Confirms anatomical compatibility | Aesthetic alignment |
| Threaded Top | Allows for easy customization | Versatile style options |
This entire procedure usually takes only a few minutes, requiring skill from a trained professional to confirm a successful healing process.
Aftercare Guidelines
After getting your microdermal anchor, proper aftercare is essential for a smooth healing process.
You'll need to focus on cleaning the area, monitoring for any signs of infection, and taking care of your jewelry to keep everything in check.
Let's go over the best practices to guarantee your piercing heals beautifully.
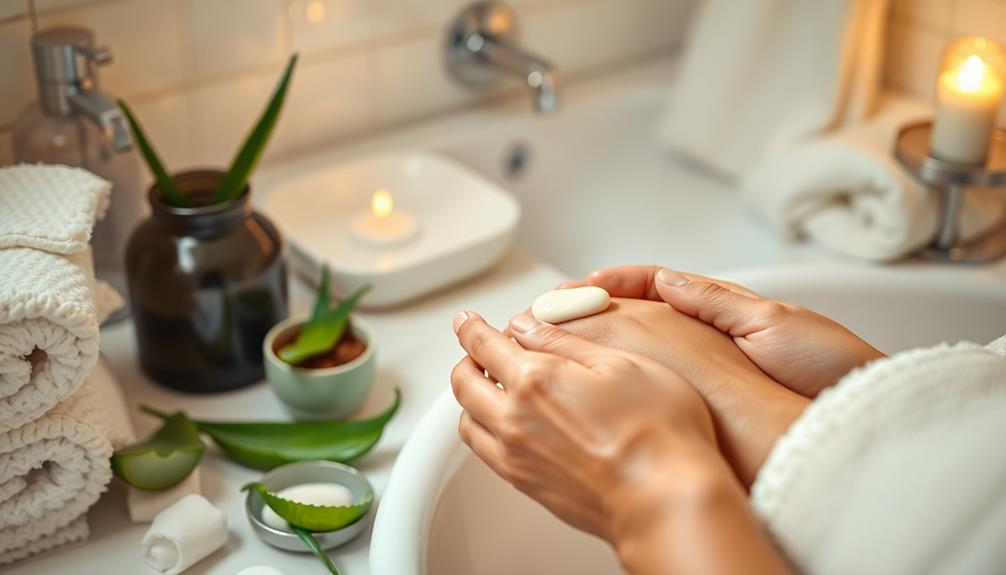
Cleaning and Hygiene Practices
Daily cleaning of your microdermal anchor piercing site is essential for preventing infection and promoting healing. To keep your piercing in top condition, follow these simple cleaning and hygiene practices:
- Use a saline solution or antiseptic: Clean the area gently at least once a day. Non-alcoholic solutions are preferred to avoid irritation.
- Avoid touching or twisting the jewelry: This minimizes irritation and helps maintain the healing process. Your skin needs time to adjust, so keep your hands off!
- Limit exposure to contaminated water: Stay away from swimming pools, hot tubs, and other potentially dirty water sources during the healing phase. This reduces the risk of infection considerably.
Additionally, keep an eye on your piercing for any signs of trouble.
Verify the jewelry isn't embedding into the skin and avoid tight clothing that may irritate the area.
Monitoring for Infection Signs
Keeping a close eye on your microdermal anchor piercing is essential for ensuring it heals properly. Daily monitoring can help you catch signs of infection early, which is vital for your health. Look out for increased redness, swelling, warmth, or any yellow or green discharge. Persistent pain around the anchor can also indicate potential issues.
Here's a quick reference table for monitoring infection signs:
| Signs to Monitor | What to Do |
|---|---|
| Increased redness | Check daily; consult a professional if it worsens. |
| Swelling | Apply a cold compress; report to your piercer if severe. |
| Warmth | Keep the area clean; consult if it persists. |
| Yellow/green discharge | Contact a healthcare provider immediately. |
| Foul odor | Seek professional advice right away. |
Regularly observe any changes in skin color, texture, or bumps around the piercing. If you notice any troubling signs, don't hesitate to consult a professional piercer or healthcare provider. Early intervention is key to effective treatment and a healthy healing process.
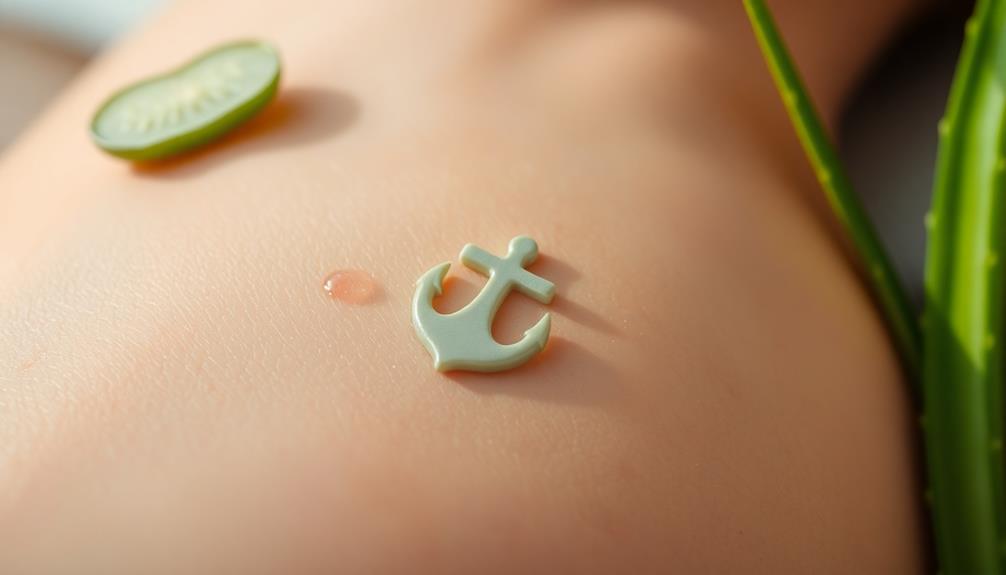
Jewelry Maintenance and Care
Maintaining your microdermal anchor jewelry is essential for a smooth healing process and long-lasting results. Proper care guarantees your dermal piercings heal well and look great. Follow these guidelines for effective jewelry maintenance:
- Daily Cleaning: Clean your dermal anchor piercing daily with a saline solution or a gentle antiseptic. Avoid harsh chemicals like alcohol or hydrogen peroxide, which can irritate the skin.
- Minimize Touching: Avoid touching, twisting, or playing with the jewelry. This helps reduce irritation and lowers the risk of complications during the healing phase, which usually lasts 6 to 12 weeks.
- Limit Water Exposure: Keep your piercing away from pools, hot tubs, and other bodies of water during the initial healing period. This limits the chance of infection and supports ideal healing.
Additionally, use biocompatible jewelry materials, such as surgical titanium or surgical stainless steel, to guarantee compatibility with sensitive skin.
Regularly check your piercing for signs of infection like redness or swelling, and consult a professional piercer if you notice any concerning symptoms.
Taking these steps will help maintain your jewelry for dermals and guarantee a successful healing process.
Healing Time and Expectations
Healing time for microdermal anchors usually falls between 6 weeks and 3 months, depending on factors like your body's healing ability and the location of the piercing. During this period, your skin will grow around the anchor, providing stability and security, which is essential for the longevity of the piercing.
Here's a quick overview of healing time expectations based on different factors:
| Location | Healing Time | Considerations |
|---|---|---|
| Arm | 6-8 weeks | Low friction, quicker healing |
| Neck | 8-12 weeks | Moderate movement, watch closely |
| Chest | 8-12 weeks | High movement, longer healing |
| Stomach | 10-14 weeks | High friction, more care needed |
| Wrist | 6-10 weeks | Low to moderate friction |
Risks and Complications
When considering microdermal anchors, it's essential to be aware of potential risks and complications.
You could face issues like infection, rejection, scarring, or allergic reactions if proper care isn't taken.
Understanding these factors can help you make informed decisions and minimize any negative outcomes.
Infection Possibilities
How can you guarantee your microdermal anchor stays infection-free? The risk of infection is significant, especially during the 6 to 12 weeks of healing. If you don't follow proper aftercare, you might experience redness, swelling, or even discharge at the piercing site.
To keep your anchor piercings safe from infection, consider these essential tips:
- Clean Regularly: Use a saline solution to clean the area at least twice daily. This helps prevent bacteria from building up.
- Avoid Touching: Don't touch or twist the jewelry without first washing your hands. This simple step can make a big difference.
- Watch for Symptoms: Keep an eye out for increased pain, warmth around the piercing, or pus. If you notice these signs, consult a professional piercer or healthcare provider immediately.
Rejection and Migration
Microdermal anchors come with certain risks, including rejection and migration, which can lead to complications if not addressed promptly.
Rejection occurs when your body gradually pushes the anchor out, often due to high-friction areas or improper placement. You might notice signs like increased visibility of the anchor, swelling, redness, and discomfort around the piercing site. If you observe these symptoms, it's vital to take action.
Migration is another concern, where the anchor shifts from its original position. This movement can cause discomfort and may require removal if it becomes visible or problematic.
To minimize the risks of rejection, choosing appropriate jewelry materials is essential. Proper aftercare during the healing process can also make a significant difference.
If you suspect rejection, it's best to consult a professional for removal, as this can help avoid complications such as scarring and infection.
Staying vigilant about your anchor's condition will help you address potential issues early on, ensuring a smoother experience with your microdermal anchors.
Scarring and Allergic Reactions
While enjoying the aesthetic appeal of microdermal anchors, you should be aware of the potential for scarring and allergic reactions. These complications can arise if proper care isn't taken, leading to visible marks or discomfort.
Here are some key points to reflect upon:
- Scarring: Improper removal of the anchor can cause scarring, including keloids, especially if you have a history of skin sensitivity. Always consult a professional piercer if you're concerned about this.
- Allergic Reactions: Some jewelry materials, like nickel, can trigger allergic reactions. Symptoms include redness, itching, and swelling around the piercing site. Opt for hypoallergenic materials, such as titanium or surgical stainless steel, to minimize this risk.
- Aftercare: Neglecting proper aftercare can exacerbate both scarring and allergic reactions. Keep the area clean, follow your piercer's instructions, and monitor the site for any unusual changes.
Being mindful of these risks can help you enjoy your microdermal anchors without unnecessary complications.
Always prioritize your skin's health and consult professionals if needed.
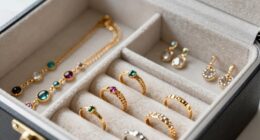
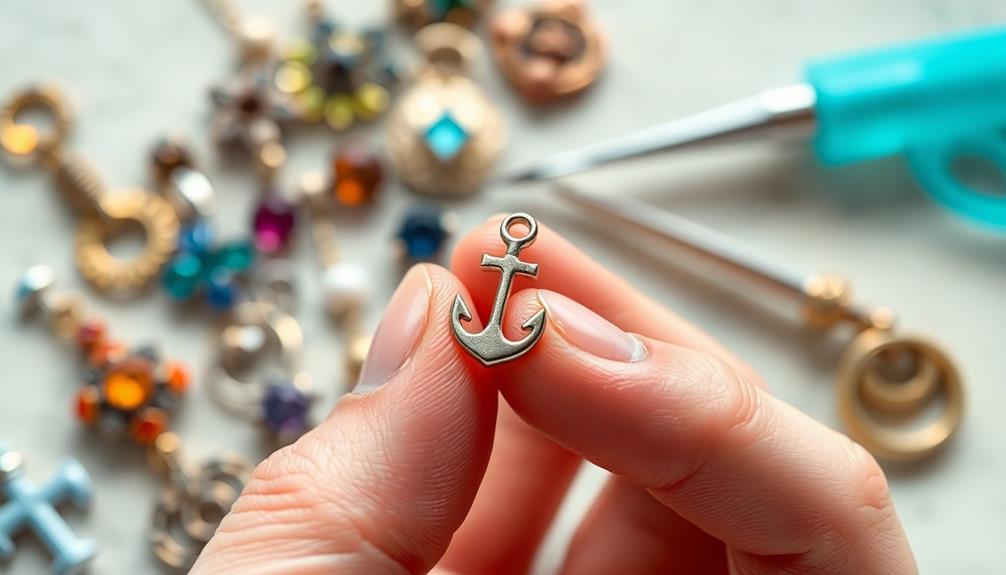
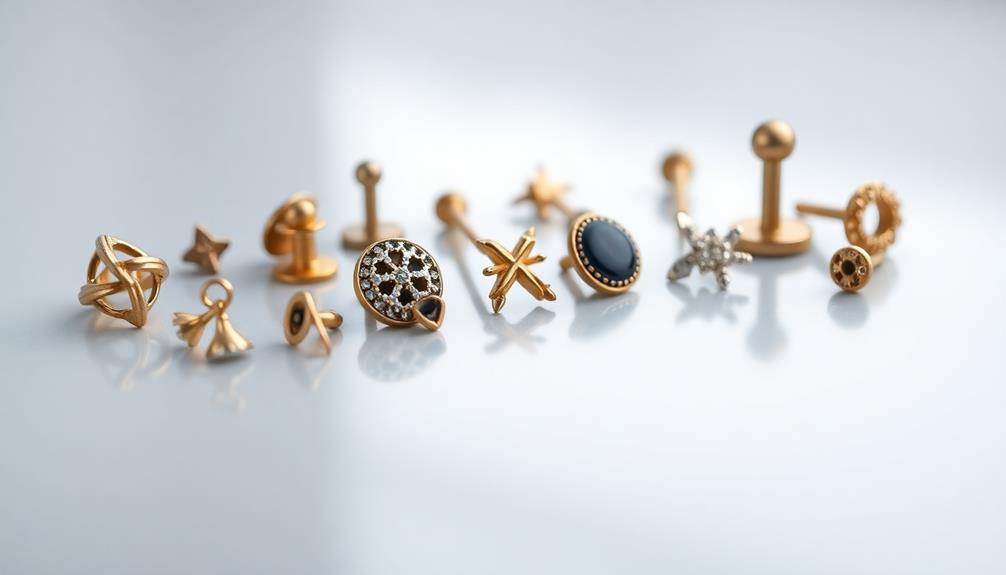
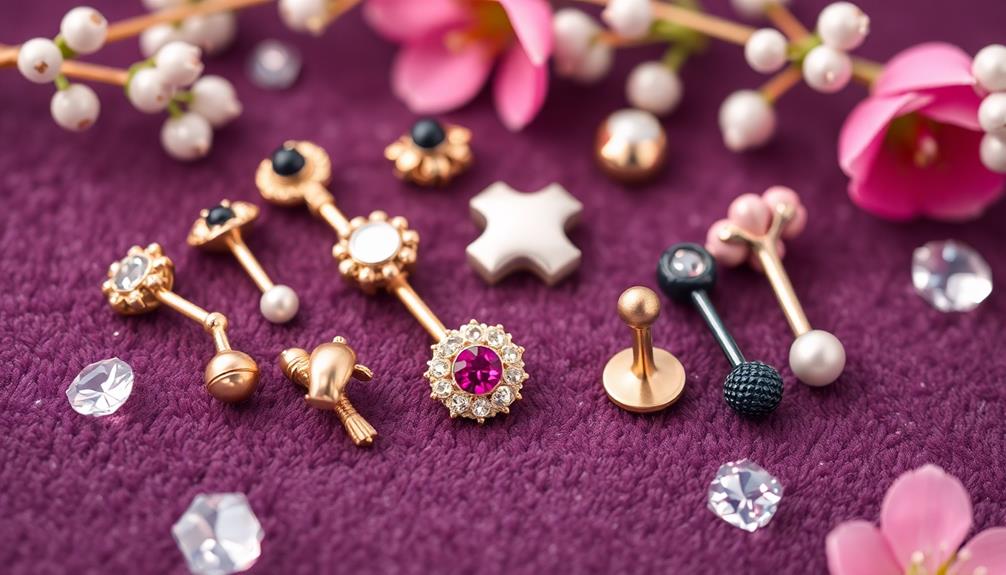
Jewelry Options and Materials

When choosing jewelry for your microdermal anchors, you'll want to contemplate both materials and designs that enhance comfort and healing.
Popular materials include surgical titanium and surgical stainless steel, both known for their hypoallergenic properties and compatibility with sensitive skin. If you're after something more aesthetically pleasing, 14-karat gold is a favored option. Just steer clear of gold-plated jewelry, as it may irritate your piercing during the healing process.
When it comes to jewelry options for your dermal anchors, flat tops are recommended to reduce friction and promote even healing.
The standard gauge typically ranges from 14 to 16 gauge, with footed anchors being the preferred choice due to their stability from skin growth.
Always verify that the jewelry fits properly and assess its condition regularly. Improper sizing or unsuitable materials can lead to irritation, complications, and an increased risk of rejection.
Trends in Body Piercing
As body piercing becomes more mainstream, the demand for microdermal anchors continues to grow, fueled by social media's influence on fashion and self-expression.
Platforms like Instagram showcase innovative and custom jewelry designs, which have sparked a rise in the popularity of dermal piercings.
You're likely noticing some key trends in body piercing that reflect this shift:
- Personalization: More people are opting for unique, intricate designs that tell their story, allowing for a true expression of personal style. This trend includes a variety of types of piercings that cater to individual preferences and enhance overall aesthetic appeal.
- Quality Materials: There's a noticeable demand for high-quality materials, such as surgical titanium and stainless steel, as individuals prioritize hypoallergenic and durable options for their microdermal jewelry.
- Community Engagement: Forums and events have sprung up, creating supportive spaces for enthusiasts and piercers to share tips, experiences, and the latest trends in body modification.
With these trends, you can see how body piercing, especially microdermal anchors, has evolved into a vibrant form of self-expression that embraces individuality while fostering a sense of community.
Removal Procedures
Removing microdermal anchors isn't something you should attempt on your own; professional assistance is key to guaranteeing a safe and smooth process.
Attempting DIY removal can lead to complications, including increased pain and scarring. To effectively carry out the removal procedures, a trained piercer or medical professional will first clean the area and unscrew the top of the jewelry. If the anchor is embedded, they may need to make a small incision to extract it safely.
Before the removal, it's wise to consult with a professional to discuss any potential risks and confirm the safest extraction methods are employed.
After the procedure, monitoring the site is essential, as some individuals may experience complications such as scarring or keloid formation. Keeping an eye out for signs of infection or unusual healing can help you address any issues early on.
Regular follow-ups with your piercer or healthcare provider can further assist in evaluating your healing process and addressing any concerns that may arise post-removal.
Prioritizing professional help not only enhances your safety but also contributes to a smoother recovery experience.
Cost of Dermal Anchors
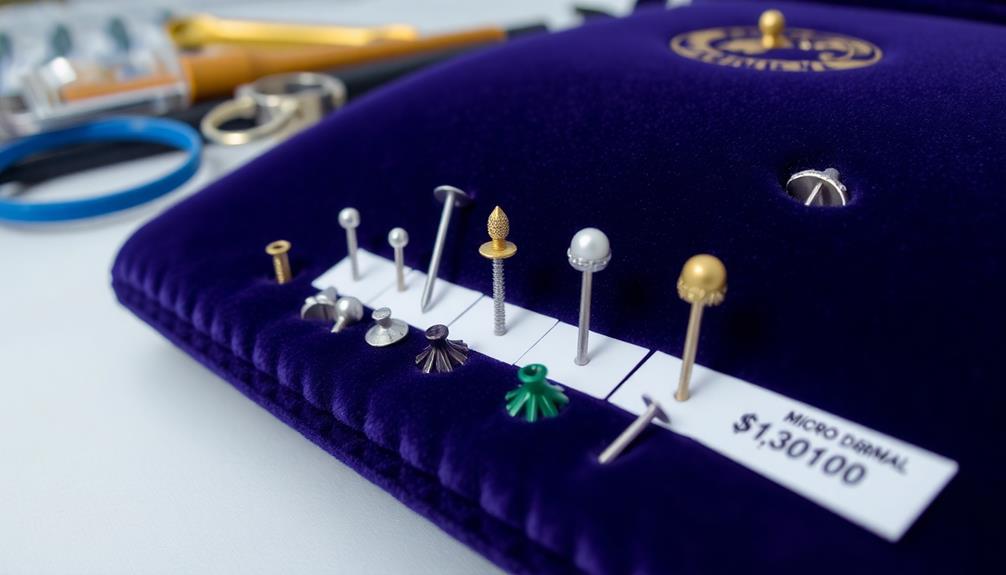
Typically, the cost of dermal anchors ranges from $50 to $150, depending on the piercer's expertise and studio location. If you're looking to get dermals, it's important to know about dermals' overall costs, which can vary widely.
Here are a few factors to take into account:
- Piercing Fee: This is your base cost, usually between $50 and $150.
- Jewelry Cost: Quality jewelry can range from $20 to $100, with higher prices for materials like surgical titanium or gold. In the UK, these costs can be 5-10 times higher!
- Aftercare Products: Don't forget to budget for aftercare, usually between $5 and $20 for saline solutions or antiseptics.
Keep in mind, the expenses for dermal anchors may be higher than traditional piercings due to the complexity of the procedure and the necessity of skilled professionals.
Investing in a reputable piercer can make a significant difference in your experience and healing process. So, as you deliberate getting dermal anchors, factor in these costs for a well-rounded approach.
Frequently Asked Questions
How Long Do Dermal Anchors Last?
Dermal anchors can last anywhere from several months to a few years. Their longevity depends on placement, movement, and skin type. Regular maintenance and proper aftercare will help maximize their lifespan and reduce complications.
How Painful Are Dermal Anchors?
Getting dermal anchors can be uncomfortable, averaging around a 7 out of 10 on the pain scale. However, many find the procedure less painful than expected, largely due to the superficial placement and skilled technique.
What Is the Difference Between Dermal Anchor and Microdermal?
Think of a leaf and its shadow. A dermal anchor is the broader design, while a microdermal is its subtle shadow—smaller, more discreet, and often preferred for a less noticeable body modification experience.
Do Dermal Anchors Reject?
Yes, dermal anchors can reject. Your body may push the anchor upward, causing it to become visible. Factors like placement and aftercare influence rejection rates, so choose wisely and maintain proper care to minimize risks.
Conclusion
In summary, microdermal anchors offer a unique way to express your individuality through body piercings. Did you know that nearly 30% of people with piercings opt for dermal anchors due to their versatility and aesthetic appeal? With proper care and consideration, you can enjoy these stunning piercings while embracing the latest trends. Remember to follow the aftercare guidelines to guarantee a smooth healing process, and don't hesitate to explore the various jewelry options available to you!