To spot a bad sterilization setup quickly, look for visible signs on tools and surfaces like residue, discoloration, corrosion, or dullness. Check sterilization indicators and strips for incorrect color changes, and inspect packaging for tears or improper seals. Also, note any mishandling or dirty storage that could jeopardize sterilization. Recognizing these signs early can save time and ensure safety—stick around to learn more reliable inspection tips.
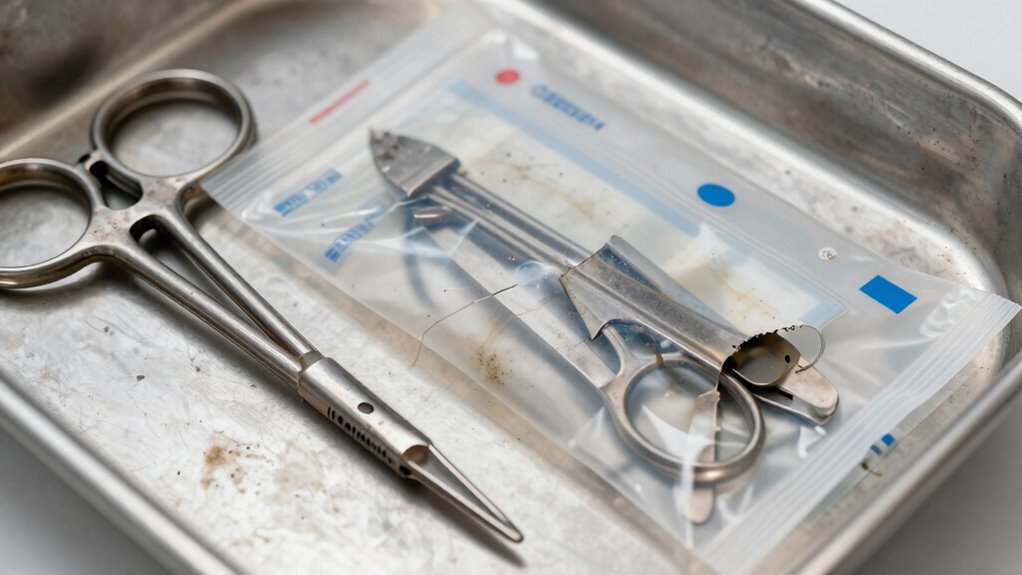
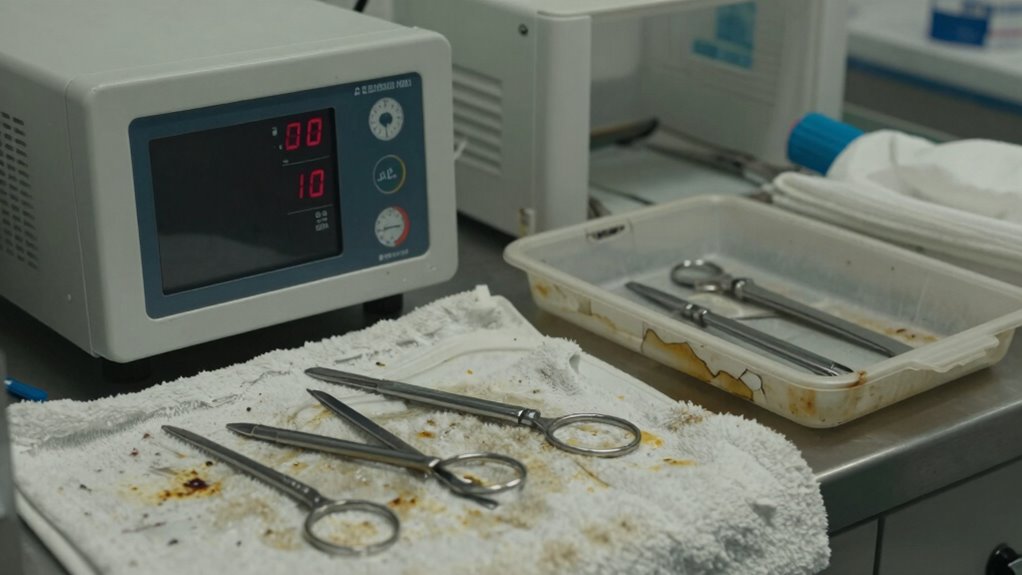
Check for visible debris, discoloration, or corrosion on tools immediately after sterilization.
Ensure sterilization indicators have changed color appropriately, confirming cycle completion.
Look for residues, streaks, or spots on instruments indicating sterilization failure.
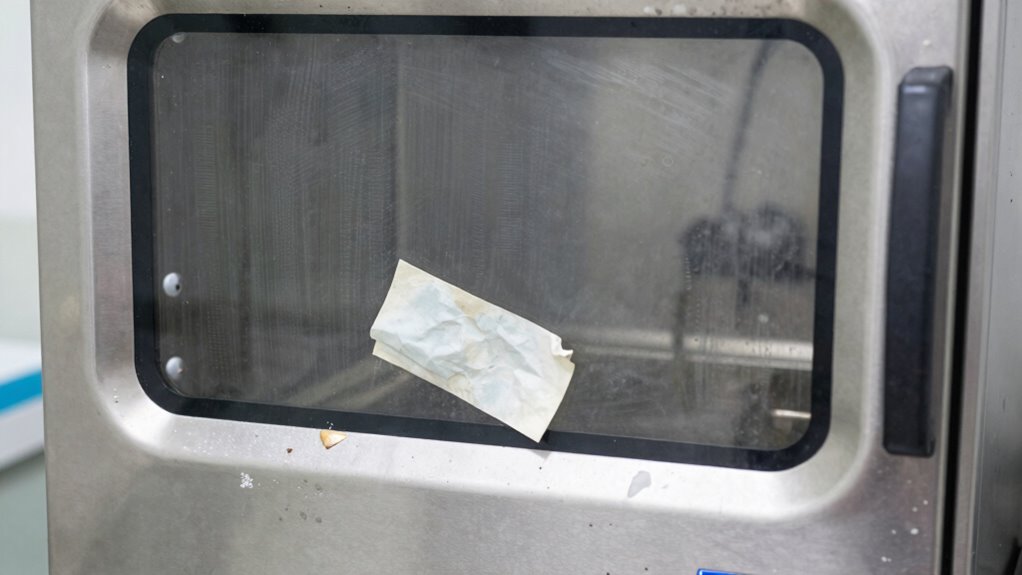
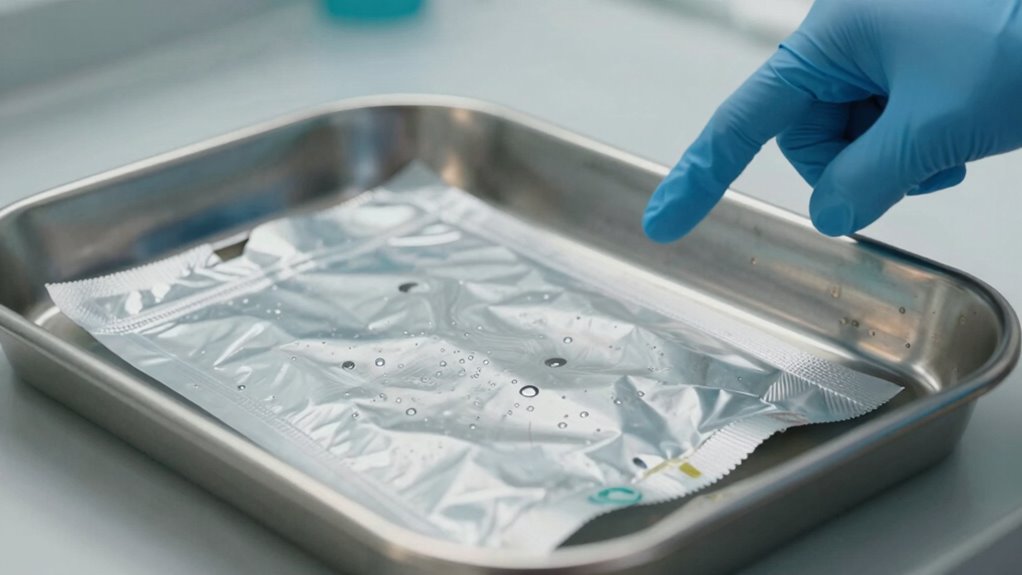
Verify packaging is intact, properly sealed, and free of tears or damage.
Listen for unusual noises or irregularities during sterilizer operation and review cycle logs.
What Are the Visible Signs of Poor Sterilization?
Have you ever wondered how to quickly identify poor sterilization? Many believe sterilization myths, like thinking equipment durability guarantees proper sterilization, which isn’t true. Visible signs of poor sterilization include leftover debris, discoloration, or corrosion on tools. Damaged or worn-out equipment can compromise sterilization, so inspect for cracks, rust, or pitting. Cloudy or dull surfaces on instruments indicate inadequate cleaning or sterilization failure. Sometimes, you might notice residues or biofilms that shouldn’t be there. Proper equipment maintenance is essential to ensure effective sterilization processes. Additionally, understanding the sterilization cycle helps identify if the correct parameters are being met during sterilization. Regularly inspect sterilization equipment for signs of wear and tear to maintain optimal performance. Recognizing these visual clues helps prevent infections and ensures safety. Being familiar with sterilization standards can further help you assess the effectiveness of the process and prevent oversights. Ensuring that sterilization procedures follow established protocols is vital for patient safety.
How Can You Check Sterilization Indicators and Strips?
Ever wonder if your sterilization process actually worked? Checking sterilization indicators and strips is your quickest way to confirm. These strips are placed inside sterilization packaging and change color when sterilization occurs. To interpret them correctly, compare the color change against the manufacturer’s instructions. Here’s a quick reference:
Indicator Type
Color Change
Placement Tip
Chemical Strip
Bright to dark
Inside packaging edge
Integrating Indicator
Complete color change
Near the instrument
Bowie-Dick Test
Black to clear
Pre-vacuum sterilizer
Process Indicator
Visible color shift
Outside packaging
Emulating Indicator
Color pattern
For testing packs
Always verify indicator interpretation and guarantee placement in the right sterilization zone for reliable results. Additionally, understanding the color fidelity of indicators can help ensure accurate readings. Proper placement and reliable indicators are crucial for trustworthy sterilization verification. Regularly monitoring sterilization parameters can further improve the consistency of your sterilization process, especially by ensuring that the indicator placement is correct.
Signs on Equipment and Surfaces That Signal Sterilization Failures
Even if your sterilization indicators show the correct color changes, it’s important to inspect your equipment and surfaces for signs of sterilization failure. Look for visible residues, such as streaks or spots, that shouldn’t be there. Discoloration, corrosion, or rust on tools can also indicate ineffective sterilization, often linked to poor equipment maintenance. Be aware of sterilization myths; some believe indicators alone guarantee safety, but physical signs are equally important. Surfaces that feel sticky, greasy, or abnormal may signal incomplete sterilization. Regularly examine your equipment closely, not just rely on indicators. This proactive approach helps you catch failures early, ensuring proper sterilization and patient safety. Proper equipment maintenance directly affects these signs, reducing the risk of unnoticed sterilization lapses.
Hygiene and Handling Practices That Indicate Sterilization Problems
How you handle and maintain your sterilized instruments can reveal hidden sterilization issues that might otherwise go unnoticed. Poor hygiene practices, like touching instruments with bare hands or storing them improperly, can indicate sterilization problems. Many believe sterilized tools don’t need careful handling afterward—that’s a sterilization myth. In reality, mishandling can introduce contamination, compromising equipment durability and safety. Observe if instruments are kept in clean, covered containers and handled with gloves. If instruments show signs of corrosion, rust, or residue despite proper sterilization, it suggests handling flaws or equipment issues. Consistent mishandling or neglecting hygiene protocols often points to a deeper sterilization failure, emphasizing that proper handling is essential to maintaining effective sterilization and ensuring safe patient care. Additionally, proper handling techniques, such as avoiding unnecessary contact, can help extend the lifespan of sterilized tools and prevent contamination. Implementing proper training and adherence to sterilization standards are crucial in maintaining sterilization efficacy and ensuring optimal patient safety. Regularly inspecting and monitoring sterilization processes, including validation procedures, can also help identify and address potential issues early, safeguarding both practitioners and patients.
Quick Tips for Routine Sterilization Inspections
Routine sterilization inspections are essential for maintaining a safe and effective sterilization process. To spot issues early, focus on quick checks that cut through sterilization myths and guarantee proper equipment calibration. Start by verifying sterilizer indicators—they should change color as expected. Next, inspect packaging for tears or improper sealing, which can compromise sterilization. Confirm that equipment calibration records are up-to-date and accurate, preventing false assumptions about sterilizer performance. Additionally, listen for unusual noises or irregular operation during cycles. Finally, review logs for any inconsistencies or missed sterilization cycles. These simple, routine steps help you catch problems before they escalate, ensuring your sterilization setup remains reliable and safe for patient care.
Frequently Asked Questions
What Are the Common Causes of Sterilization Setup Failures?
You often encounter sterilization setup failures due to common issues like equipment maintenance neglect and falling for sterilization myths. Poor maintenance can cause equipment to malfunction, compromising sterilization. Meanwhile, believing false sterilization myths might lead you to skip proper procedures or ignore manufacturer guidelines. Regularly inspecting and maintaining equipment, along with following proven sterilization practices, helps prevent failures and guarantees a safe, effective sterilization process every time.
How Often Should Sterilization Equipment Be Recalibrated?
You should recalibrate sterilization equipment at least annually, but more frequently if you notice inconsistencies or errors. Don’t fall for sterilization myths that suggest infrequent maintenance is enough. Regular equipment maintenance ensures accurate results, reduces failures, and extends lifespan. Keep a schedule for calibration and maintenance, and always follow manufacturer recommendations to maintain ideal sterilization performance and safety.
Are There Specific Protocols for Sterilizing Different Types of Instruments?
Yes, there are specific protocols for sterilizing different types of instruments. You should use appropriate sterilization methods based on instrument compatibility—some tools require low-temperature sterilization, while others can handle high heat. Always follow manufacturer instructions for each instrument, ensuring you select the correct sterilization cycle and method. Properly segregate and prepare instruments to prevent cross-contamination, and regularly verify sterilizer performance to maintain safety and effectiveness.
What Training Is Recommended for Staff on Sterilization Procedures?
Think of staff competency as the backbone of sterilization safety. You should provide thorough training modules that cover proper instrument handling, cleaning, and sterilization techniques. Hands-on workshops, regular refresher courses, and assessments help guarantee your team is well-equipped. This ongoing education keeps everyone sharp, reduces errors, and guarantees instruments are sterile and safe for patient use. Investing in quality training is investing in your practice’s reputation and patient safety.
How Can Sterilization Setup Issues Impact Patient Safety?
Sterilization setup issues can seriously compromise patient safety by failing to meet sterilization standards, increasing infection control risks. When equipment isn’t properly sterilized, harmful bacteria and viruses can survive and spread, leading to infections. You must guarantee strict adherence to sterilization procedures, regularly monitor sterilization loads, and train staff in infection control practices. Addressing setup problems promptly helps protect patients from preventable infections and maintains high healthcare safety standards.
Conclusion
By staying alert to these signs, you can catch sterilization issues faster than a lightning strike. Regular inspections and proper handling are your best weapons against unseen dangers lurking in your equipment. Don’t let poor sterilization slip through unnoticed—your safety and reputation depend on it. Remember, ignoring these signs is like playing with fire—dangerous and bound to cause a disaster. Stay vigilant, and keep your sterilization setup flawless!
Disposing of Piercing Needles and Biomedical Waste
Ineffective disposal of piercing needles and biomedical waste can pose serious health and environmental risks—discover essential safety tips to protect yourself and others.